How to Properly Make an Expansion PEX Connection
How to Properly Make an Expansion PEX Connection
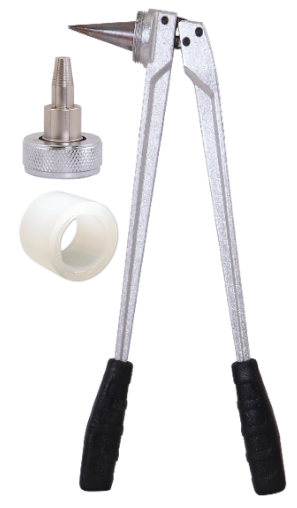
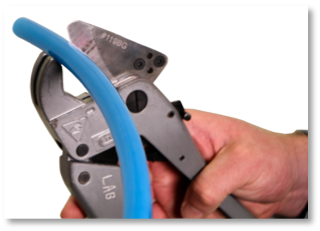
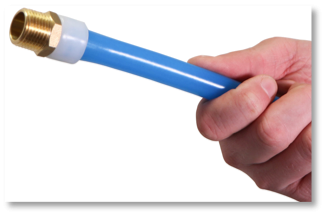
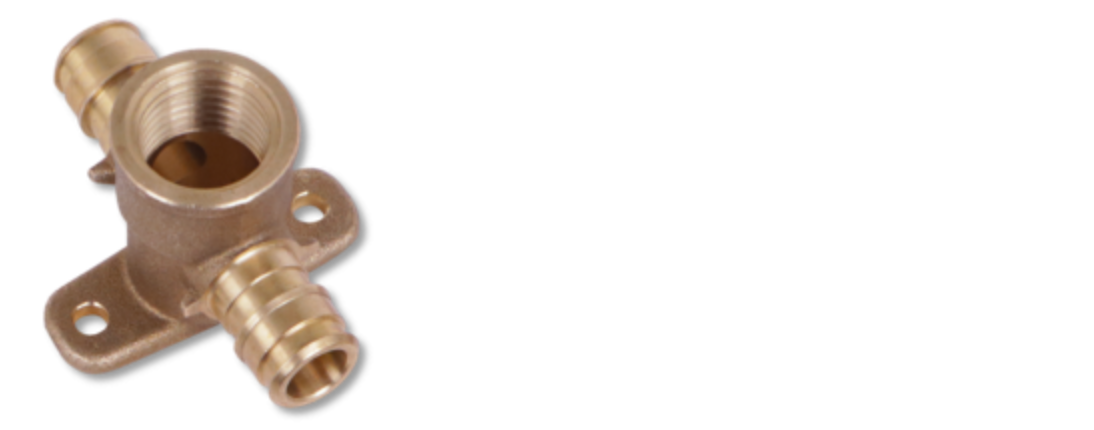
Expansion PEX fittings are commonly used on PEX-A tubing, which involves a plastic cold expansion PEX ring/sleeve and expansion tool (as shown to the right). These fittings are intended for use in residential and commercial (hot and cold) potable water distribution systems, as well as sealed central heating, including under-floor-heating systems. Expansion PEX fittings must conform to the ASTM 1960 standard.
The installation process for expansion PEX fittings is a completely visual connection, unlike other types that require tool calibration or go-no-go gauges. The fittings have virtually the same inside diameter as the pipe, creating less restriction and often allowing for smaller pipe sizes. This connection method is impossible to dry-fit and tools are one size fits all, with the exception of the expansion heads, which need to be changed out for different pipe sizes. Continue reading to follow step-by-step directions on how to properly make an expansion PEX connection:
- Square cut PEX pipe 90 degrees to desired pipe length
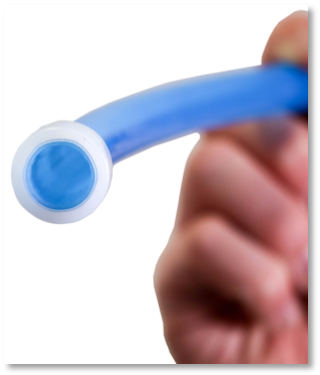
- Slide F1960 PEX ring onto pipe to the positive stop within the ring
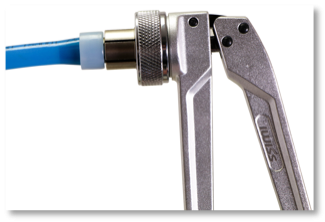
- Using pipe expander, expand the ring fully. Repeat expansion, rotating expander 1/8 – turn between expansions (approximately 5-7 times)
- Insert fitting into expanded pipe and ring. Assure proper expansion so that fitting is touching pipe and ring. Hold fitting in place until pipe/ring memory constrict annularly around the fitting.
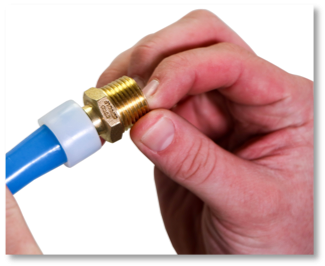
- The installation is complete with a visibly secure connection